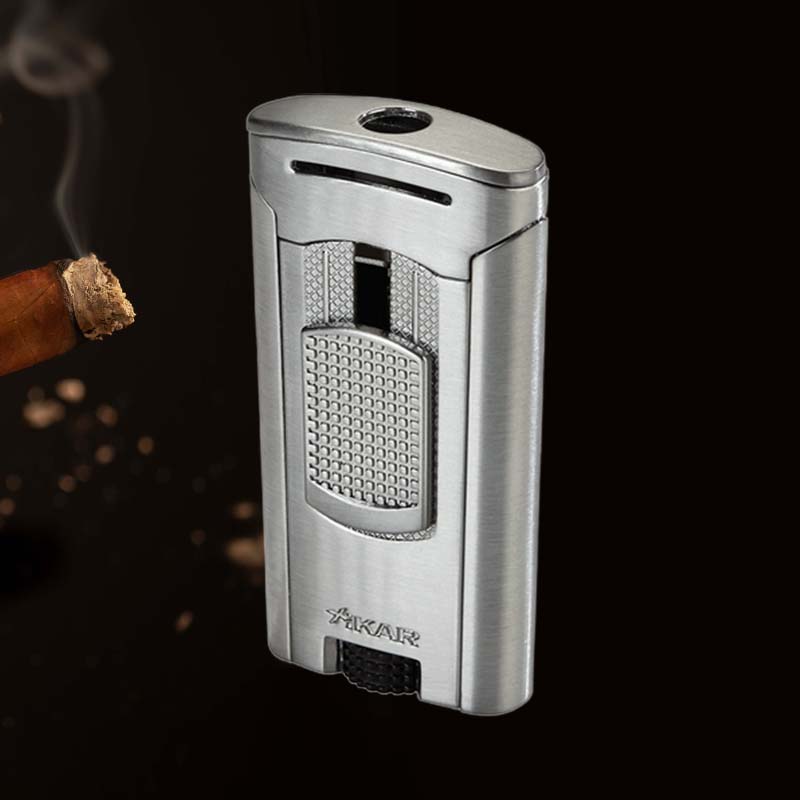
How do you fix the clicker on a torch lighter
How Do You Fix the Clicker on a Torch Lighter
Introduction: Fixing That Jet Lighter You Love
As a cigar aficionado, there’s nothing more frustrating than reaching for my trusty torch lighter only to find that the clicker has gone silent. After all, every cigar enthusiast knows the joy of that satisfying *click* followed by a roaring flame. It’s not just about lighting up my favorite cigar; it’s about the ritual, the experience. That’s why I decided to take matters into my own hands and discover how to fix that stubborn clicker. If you’re facing the same issue, trust me, you’ve come to the right place!
Understanding the Importance of a Functional Clicker
The clicker, or igniter, of your torch lighter is crucial. It’s the bridge between you and the fire that ignites your enjoyment. Without it, your lighter feels like a tool without purpose. Ensuring that your clicker works is not only about making your lighter functional again; it also enhances the overall experience. Picture this: you’re at a gathering, enjoying a fine cigar with friends, and when you reach for your lighter, it does its job flawlessly. That’s the magic of a reliable clicker!
Step 1: So What You’ll Need for This
Gathering the Right Tools and Materials
- Small Phillips screwdriver
- Flathead screwdriver
- Replacement flint
- Compressed air (optional)
- Cleaning cloth
These simple tools will help ensure a smooth repair process. Just as I gather my cigar accessories before a smoke, having these items at hand will simplify the task ahead.
Step 2: Diagnosis Time
Identifying the Symptoms of a Faulty Clicker
Before diving into repairs, it’s essential to identify the problem. Common symptoms may include:
- No click sound when pressing the igniter
- Weak or no flame when ignited
- Flint not making contact with the wheel
By diagnosing these symptoms, I’ll better understand what I need to fix, saving time and frustration.
Step 3: Opening Your Lighter Up
How to Carefully Disassemble Your Torch Lighter
Now, let’s get hands-on! To access the internal mechanism, gently use your Phillips screwdriver to remove the screws holding your lighter together. Take note of the order you take them out, keeping the pieces organized so you can easily reassemble later. As I did this, the anticipation of bringing my lighter back to life surged within me!
Step 4: Adjusting the Spark
Accessing the Click Mechanism and Making Adjustments
With your lighter opened up, locate the clicker mechanism. Sometimes, it just needs a slight adjustment or realignment. Gently manipulate it to ensure that it creates the necessary contact when pressed. This step is often where I find the magic begins to happen!
Step 5: Checking the Flint
Replacing or Cleaning the Flint for Better Spark
Next, let’s take a look at the flint. A worn or dirty flint is often the culprit behind a non-functioning clicker. If you find it is too short, replace it with a new one. Ensure it’s securely in place. I’ve often noticed a crisp *click* return as I’ve made this simple change.
Step 6: Cleaning the Jets
Ensuring Proper Flame Operation
Next up is cleaning the jets. Dust and debris can easily block the gas from flowing properly. Carefully clean them using compressed air or a soft brush. When I do this, I can almost feel the lighter breathing easier, ready to ignite once more!
Step 7: Bleeding the Tank Before Refilling
Preventing Fuel Blockages and Ensuring Performance
To ensure optimal performance, bleed the tank before refilling. This process involves pressing the refilling nozzle to release excess fuel vapors. It might seem small, but I like to think of it as giving my lighter a fresh start.
Step 8: Wait for Your Lighter to Warm Up After Refilling
Why Allowing Your Lighter to Stabilize Matters
Patience is key here! After refilling, let your lighter sit for a few moments. This allows the fuel to settle and ensures that your lighter performs at its best. I often relish this time, visualizing the vibrant flames that are soon to come!
Step 9: Putting It Back Together
Reassembling Your Torch Lighter Correctly
Now that everything is adjusted and cleaned, it’s time to put your lighter back together. Carefully align all parts and tighten the screws. This moment always brings a wave of satisfaction; knowing that I’m one step closer to rekindling that warmth and glow.
Step 10: Final Testing and Troubleshooting
Ensuring Your Lighter Functions as Expected
Finally, light it up! If it clicks, I feel instant joy. If it doesn’t, it’s time to retrace steps. Sometimes it takes a couple of tweaks, but the glowing flame at the end is always worth it. I encourage you to keep trying!
Common Causes of a Torch Lighter Not Clicking
Identifying Frequent Issues and Their Solutions
Common causes for a clicker malfunction include dirt accumulation, low flint levels, or misalignment in the mechanism. Often, a quick clean and a flint replacement can solve the issue, ensuring you experience that pleasurable *click* once again!
Navigating Troubleshooting Steps for Torch Lighter Revival
Effective Methods to Revive Your Lighter
If your lighter is facing issues, follow the previous steps. Start by disassembling and diagnosing the problem, making sure to clean and replace necessary components. This methodical approach has always helped me troubleshoot effectively.
Preventive Measures for Long-lasting Usage
Tips to Avoid Future Issues with Your Torch Lighter
- Store your lighter in a dry environment
- Avoid over-refilling to prevent fuel leaks
- Regularly clean the jets and mechanisms
By implementing these preventive measures, I’ve managed to keep my lighter in great shape, ensuring I’m always ready to enjoy that perfect puff.
Conclusion: Keeping Your Torch Lighter in Top Shape
Recap of Maintenance and Repair Tips
Through careful diagnostics, cleaning, and proactive maintenance, I’ve been able to fix the clicker on my torch lighter successfully. By following these steps, you can enjoy the satisfying experience of a well-functioning lighter, turning every cigar session into a memorable event.
FAQ
Can you fix a torch igniter?
Yes, most torch igniters can be fixed by diagnosing the issue, replacing worn parts, and ensuring everything is clean and properly aligned.
How do you fix a lighter that won’t click?
To fix a lighter that won’t click, open it up, check the click mechanism, ensure the flint is functioning, and clean any obstructions.
What is the clicker in a lighter called?
The clicker in a lighter is commonly referred to as the igniter or spark wheel, responsible for creating the spark needed to ignite the fuel.
How do you fix a clogged torch lighter?
To fix a clogged torch lighter, clean the jets with compressed air and clear any debris that may be blocking the fuel flow.


