How to fix a small torch lighter
Introduction: Fixing That Jet Lighter You Love
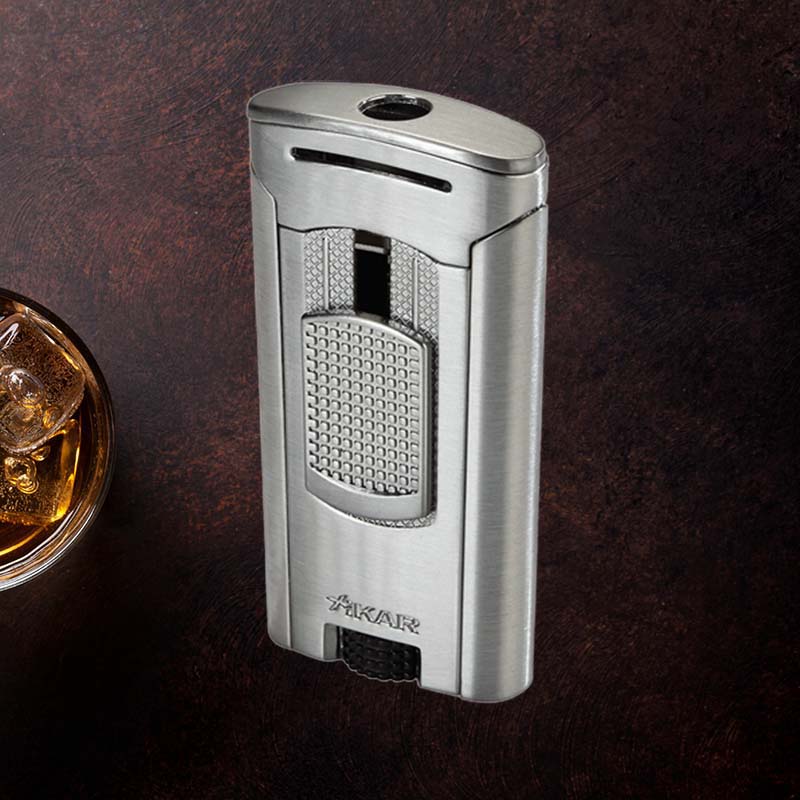
There’s a certain attachment we have to our tools and gadgets. For me, my small torch lighter is more than just a lighter; it’s a reliable companion during moments of relaxation and celebration, be it lighting a fine cigar or igniting a candle on a peaceful evening. The thought of it failing to work can be disheartening, but I’ve discovered that fixing a torch lighter can be a journey of satisfaction and learning. Join me as I delve into how to fix that small torch lighter you love, and revive the joy it brings into your life.
Why You Should Fix Your Torch Lighter
Fixing your torch lighter rather than replacing it not only saves money but also honors the sentimental value it holds. Each dent and scratch tells a story about shared moments, and reviving its functionality can extend its life to many more memories together.
Step 1: So What You’ll Need for This

Essential Tools and Materials
- Small screwdriver set
- Compressed air can
- Butane fuel
- Cotton swabs
- Cleaning solution (like rubbing alcohol)
- Paper towels
Step 2: Ok Diagnosis Time Doctor

Identifying Common Lighter Problems
Before jumping into repairs, diagnosing the issue is critical. It helps narrow down the solutions. Common problems include:
- Lighter won’t spark
- Weak flame
- Gas leaks
- Out of fuel
- Unclean internals
- Unusual sounds like hissing
- Effects from humidity
Step 3: Opening Your Lighter Up

Safe Ways to Disassemble Your Torch Lighter
Carefully disassembling your lighter is essential to prevent damage. I take the following steps:
- Ensure the lighter is free of gas.
- Use a small screwdriver to remove screws carefully.
- Note the order of parts to aid reassembly.
Step 4: Adjusting the Spark
How to Check and Fix Ignition Issues
If your lighter isn’t sparking, I usually check the ignition electrode. Ensuring it’s clean can make a world of difference. If it needs adjustment, gently tweak it using the small screwdriver to ensure better contact with the flint.
Step 5: So I Did That, But I’m Not Getting Anywhere

Troubleshooting When Nothing Works
If you’ve done all the steps and still face issues, don’t fret. I often consider these possibilities:
- Check the fuel flow path for clogs.
- Ensure the flint isn’t completely worn out and needs replacement.
- Look for tiny debris that might obstruct gas from reaching the burner.
Step 6: Putting It Back Together
Reassembling with Care
Tidiness matters during reassembly. I reverse the disassembly steps, ensuring all components are secure but not over-tightened, which can cause further malfunction.
Step 7: I Do Believe We’re Done

Testing Your Torch Lighter After Fixing
After putting everything back, I give it a careful test. I ignite it in a safe area and observe the flame’s intensity and stability. This is a moment of anticipation and relief.
Common Lighter Issues and How to Fix Them
Overview of Frequent Problems
Here’s a roundup of frequent problems that I’ve encountered with torch lighters and how I’ve tackled them effectively.
Lighter Sparks But Won’t Light

Possible Causes and Solutions
If sparks are visible, but the flame doesn’t ignite, the gas flow might be blocked. I clean the nozzle with a cotton swab dipped in cleaning solution to ensure it’s clear.
Weak Flame
Identifying and Fixing Flame Issues
I often refill the lighter with fuel and check if the adjustment wheel is set to a higher flame. If the issue persists, it could be due to an obstructed jet that needs cleaning.
Leaks

How to Detect and Repair Gas Leaks
Spotting leaks can be tricky. I spray a soapy water solution over the lighter and watch for bubbles. If detected, I replace the O-rings or address screws securing the fuel tank.
Out of Fuel
Proper Refilling Techniques
Sometimes, it’s as simple as being out of fuel. I use high-quality butane and follow these steps to refill:
- Turn the lighter upside down.
- Insert the butane nozzle and release gas for about 5 seconds.
- Let it sit for a few minutes before testing.
Unclean Lighter

Cleaning Your Torch Lighter Effectively
I prioritize cleaning my lighter, especially after heavy use. Disassemble and use cotton swabs with cleaning solution on all components, ensuring everything is clear.
Hissing Sound

Understanding and Resolving Hissing Noises
A hissing sound might indicate a gas leak or over-pressurization. I gently release some gas and check for leak signs, which I’ve learned often helps resolve the sound.
Dampness

Effects of Humidity on Lighter Performance
Humidity can affect lighter functionality. I keep my lighter in a dry place and periodically check it after a humid day, ensuring it’s free from moisture before use.
How to Prevent Lighter Problems
Maintenance Tips for Your Torch Lighter
Preventative measures are essential. To keep my lighter in top shape, I:
- Clean it regularly to prevent clogs.
- Refill with high-quality butane.
- Store it in a dry, cool place.
FAQ

Why won’t my mini torch lighter work?
If your mini torch lighter isn’t working, it could be due to empty fuel, an obstruction in the gas path, or a malfunctioning spark mechanism. I often check these areas first.
Why is my torch lighter not releasing butane?

A torch lighter may not release butane if the valve is clogged or broken. I recommend checking for blockages or using a can of compressed air to clear the path.
How do you fix a torch lighter that won’t spark?

Fixing a torch lighter that won’t spark usually involves checking the igniter electrode and ensuring it’s clean and properly positioned. I reset the electrode or clean it to restore functionality.
How do you fix a clogged torch lighter?

To fix a clogged torch lighter, it’s essential to disassemble the lighter and clean the nozzle with a cotton swab soaked in cleaning solution, which I find often clears any blockages effectively.


